today was an interesting mix of long and short exercises. We began with a relaxing 30 minute pose. I found this really enjoyable as I prefer to spend longer on a piece of work; I like to be able to engage with what i’m doing and add facial features etc, which I’ve really missed in these classes – drawing faces is a lot of fun for me.
we then faced a new challenge -draw the model as they move! We had to focus on action lines and I’ve never had to draw so quick ever before! (not even when I had to draw my ferrets on a walk!)
by the final picture there was definitely a rhythm emerging, starting with the head, arms, torso etc and focusing only on singular lines to represent the body rather then trying to draw hands or thighs.
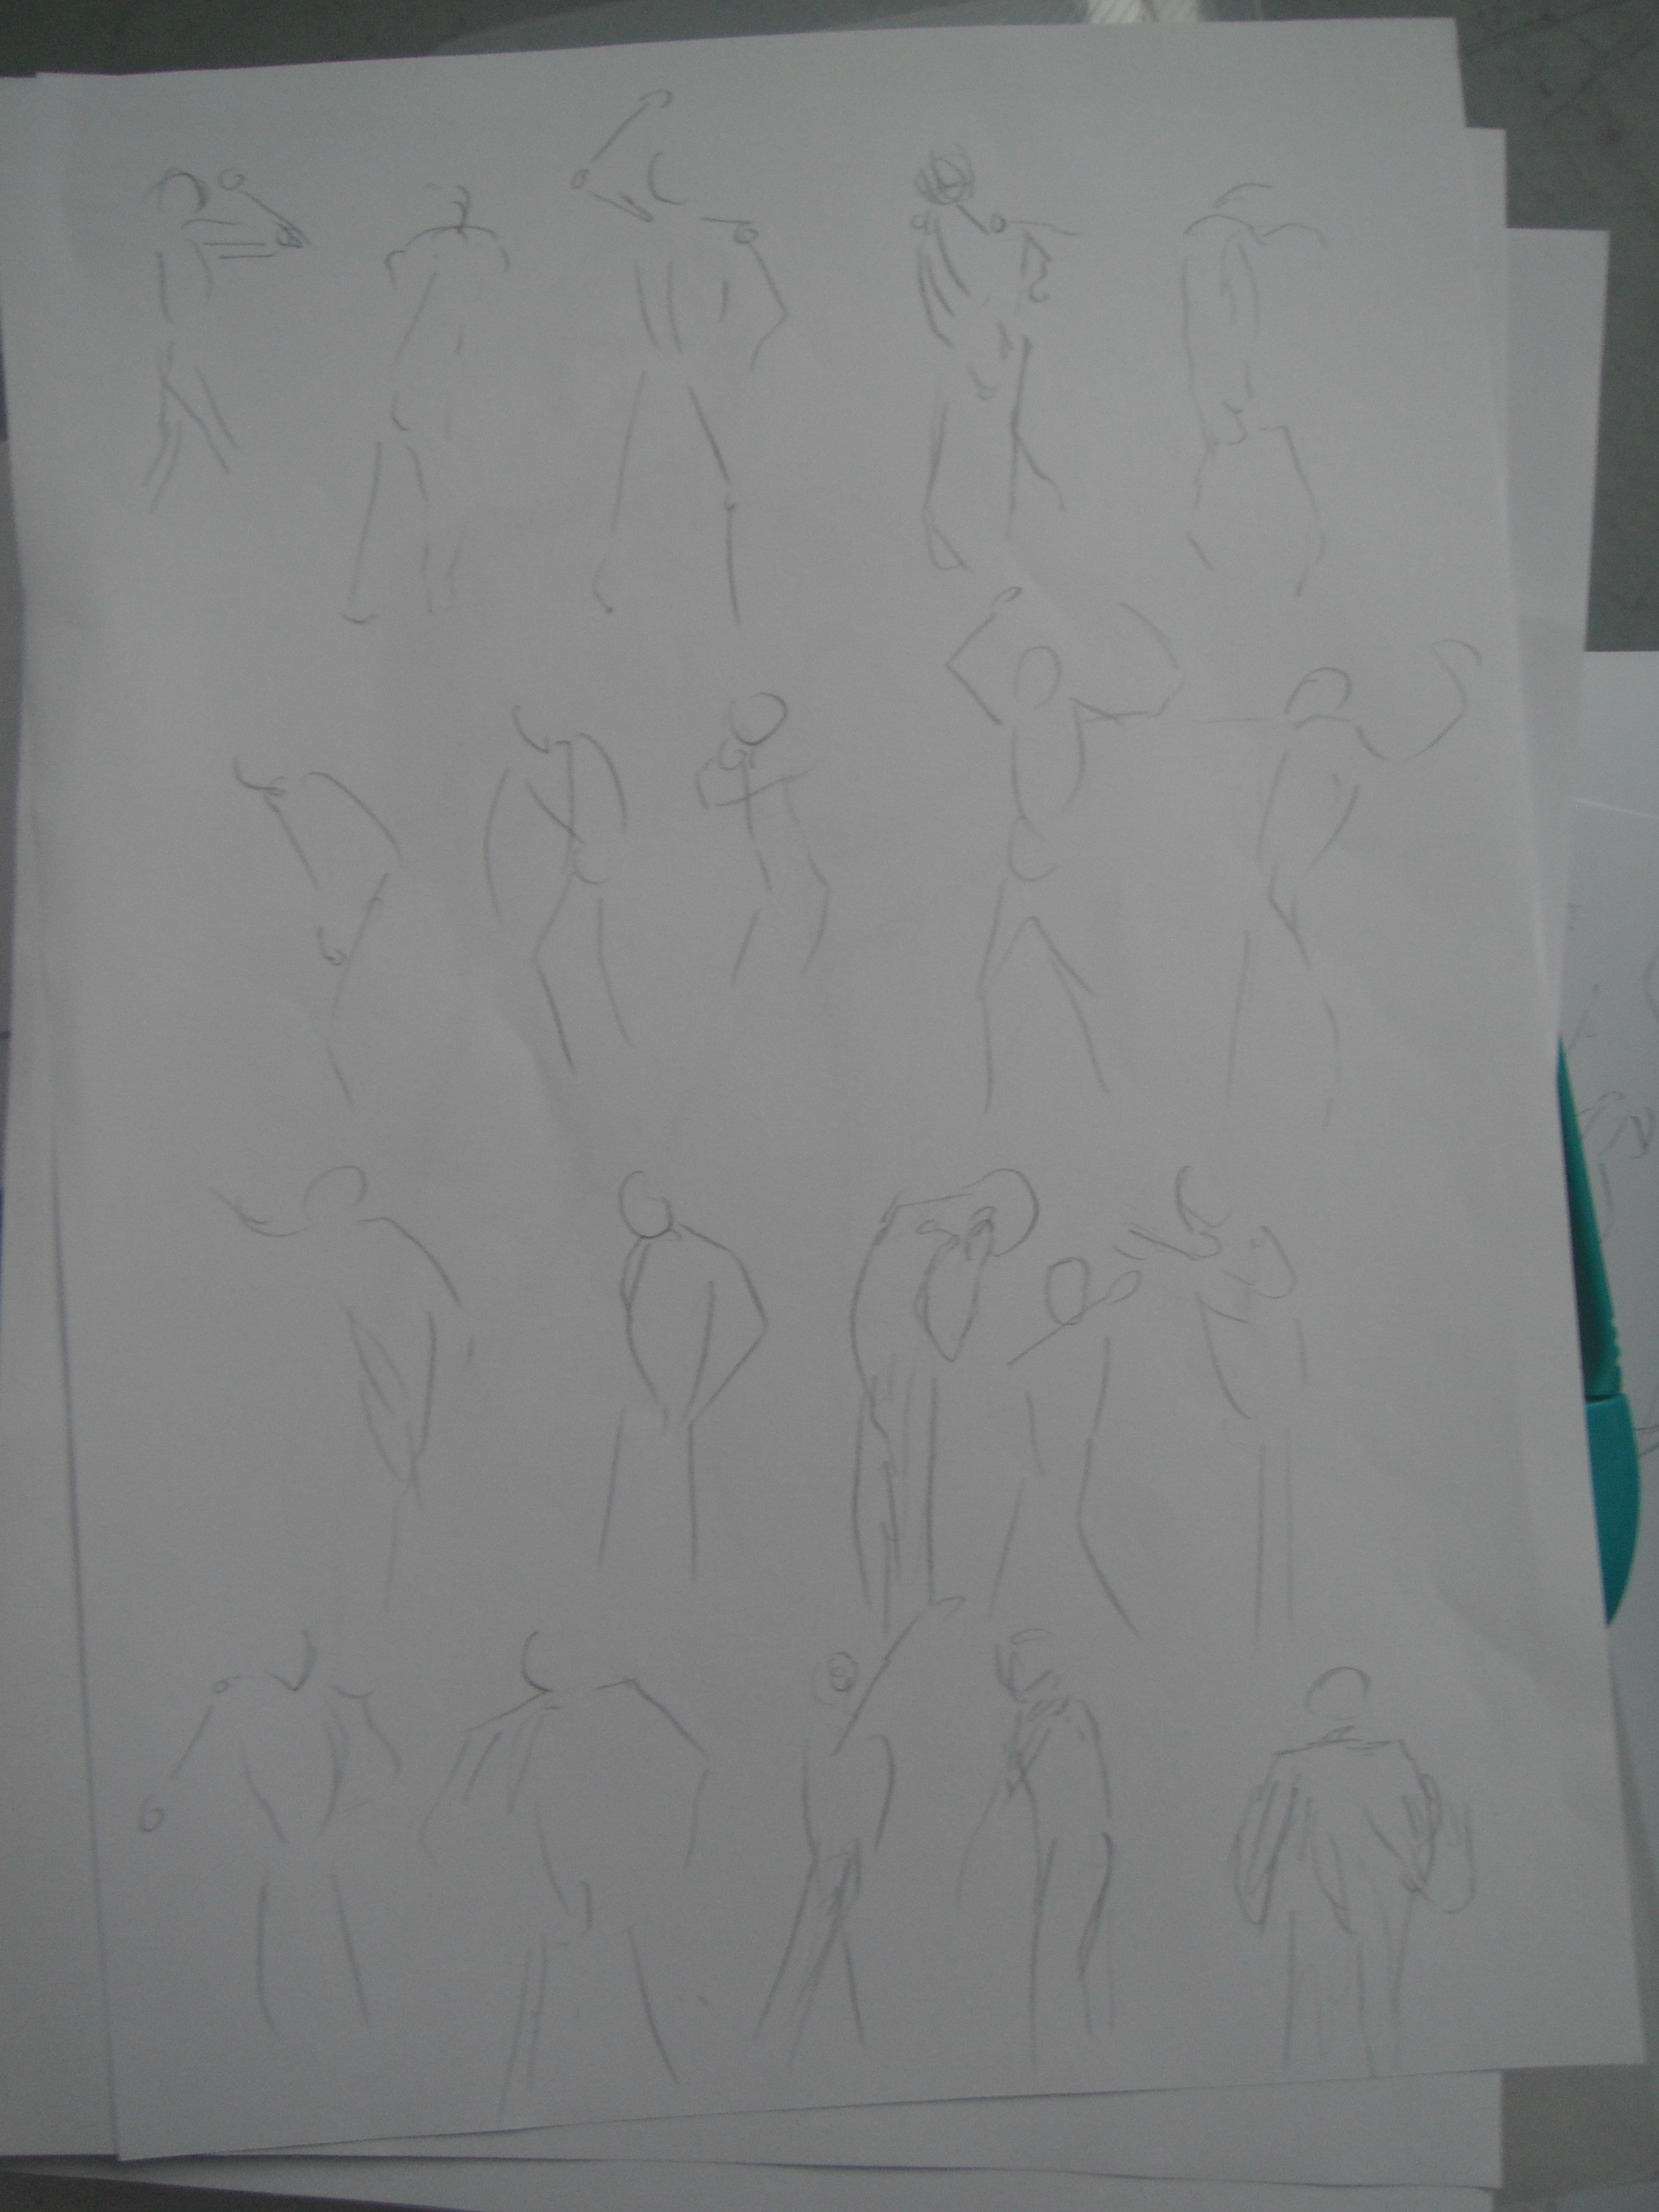
This led on nicely to our next activity – 10, 1 minute drawings of a set of continuous poses. These will definitely help us learn to draw faster and it was quite intense… but not as intense as what our teacher had planned next!
60 30 SECOND DRAWINGS!
I have never felt so drained! It was such hard work and my back was aching from sitting in the same position for so long, but the reasoning behind the exercise made sense. As animators we need to be able to draw accurately and quickly and this was a perfect opportunity to strengthen these skills. If I had the time and equipment I could have line tested these pictures and a rough motion sequence would be revealed. However I have neither the time or the equipment currently 😦
here are examples of the quick drawings we did;
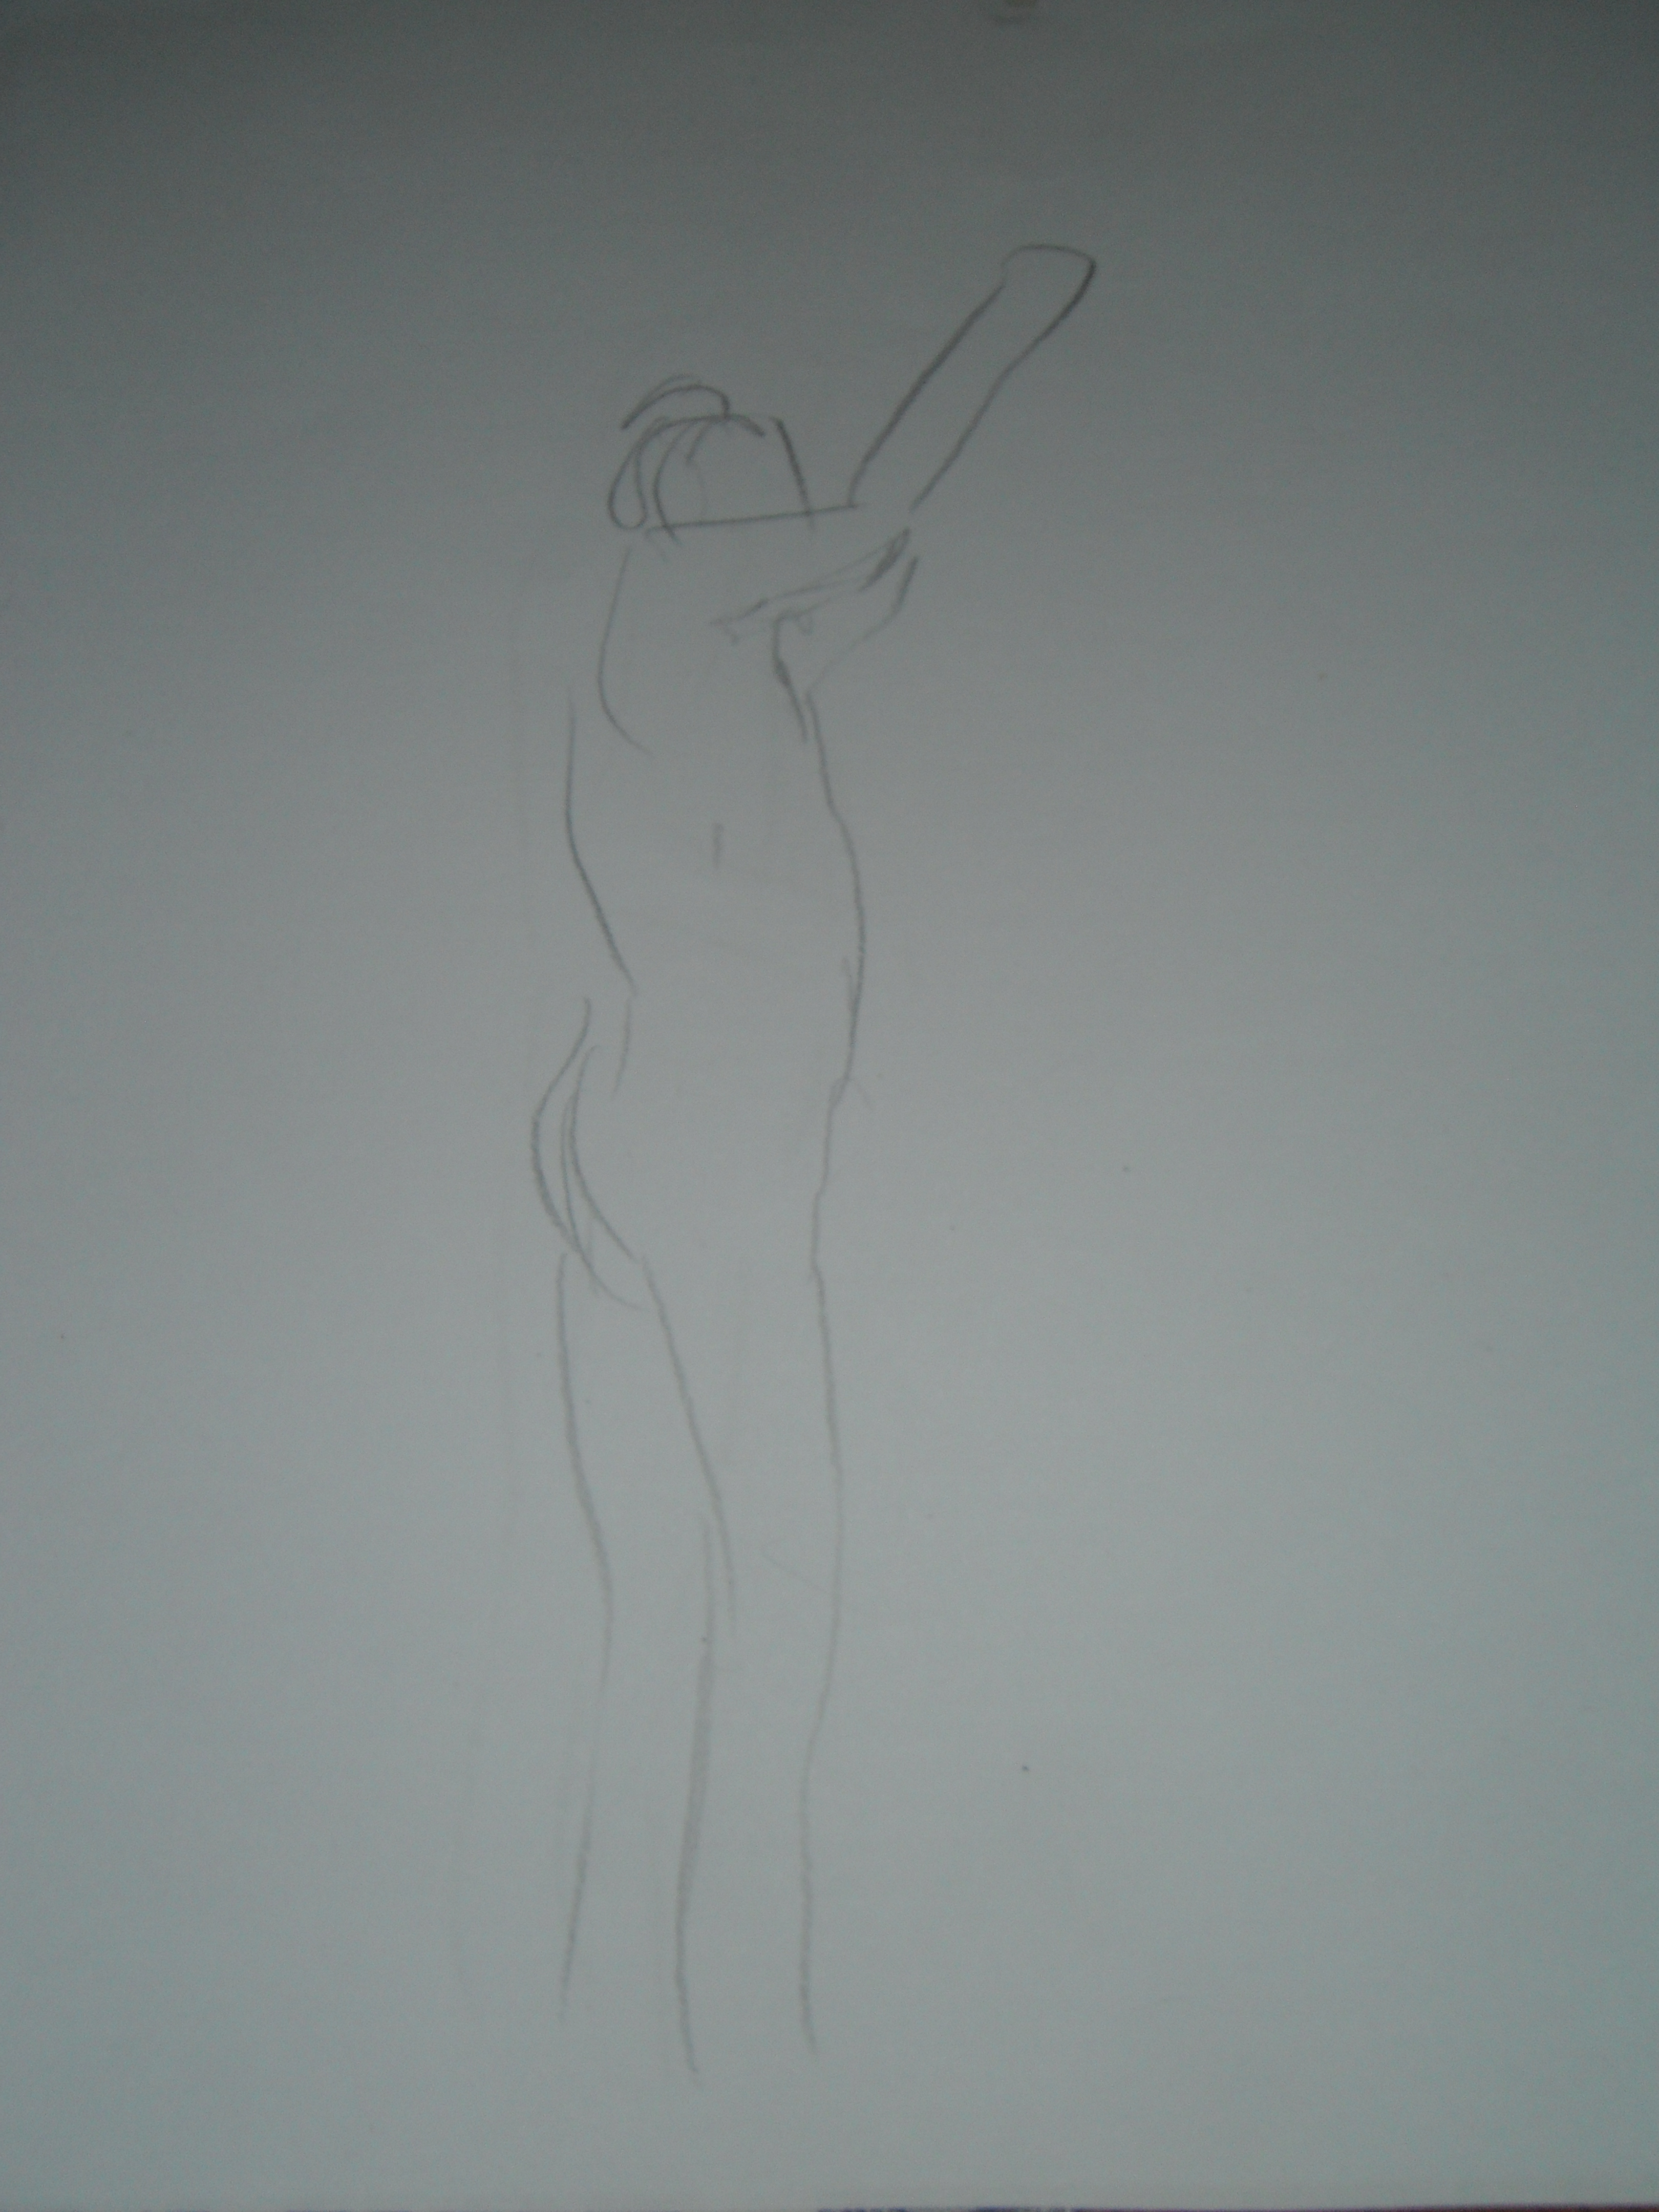
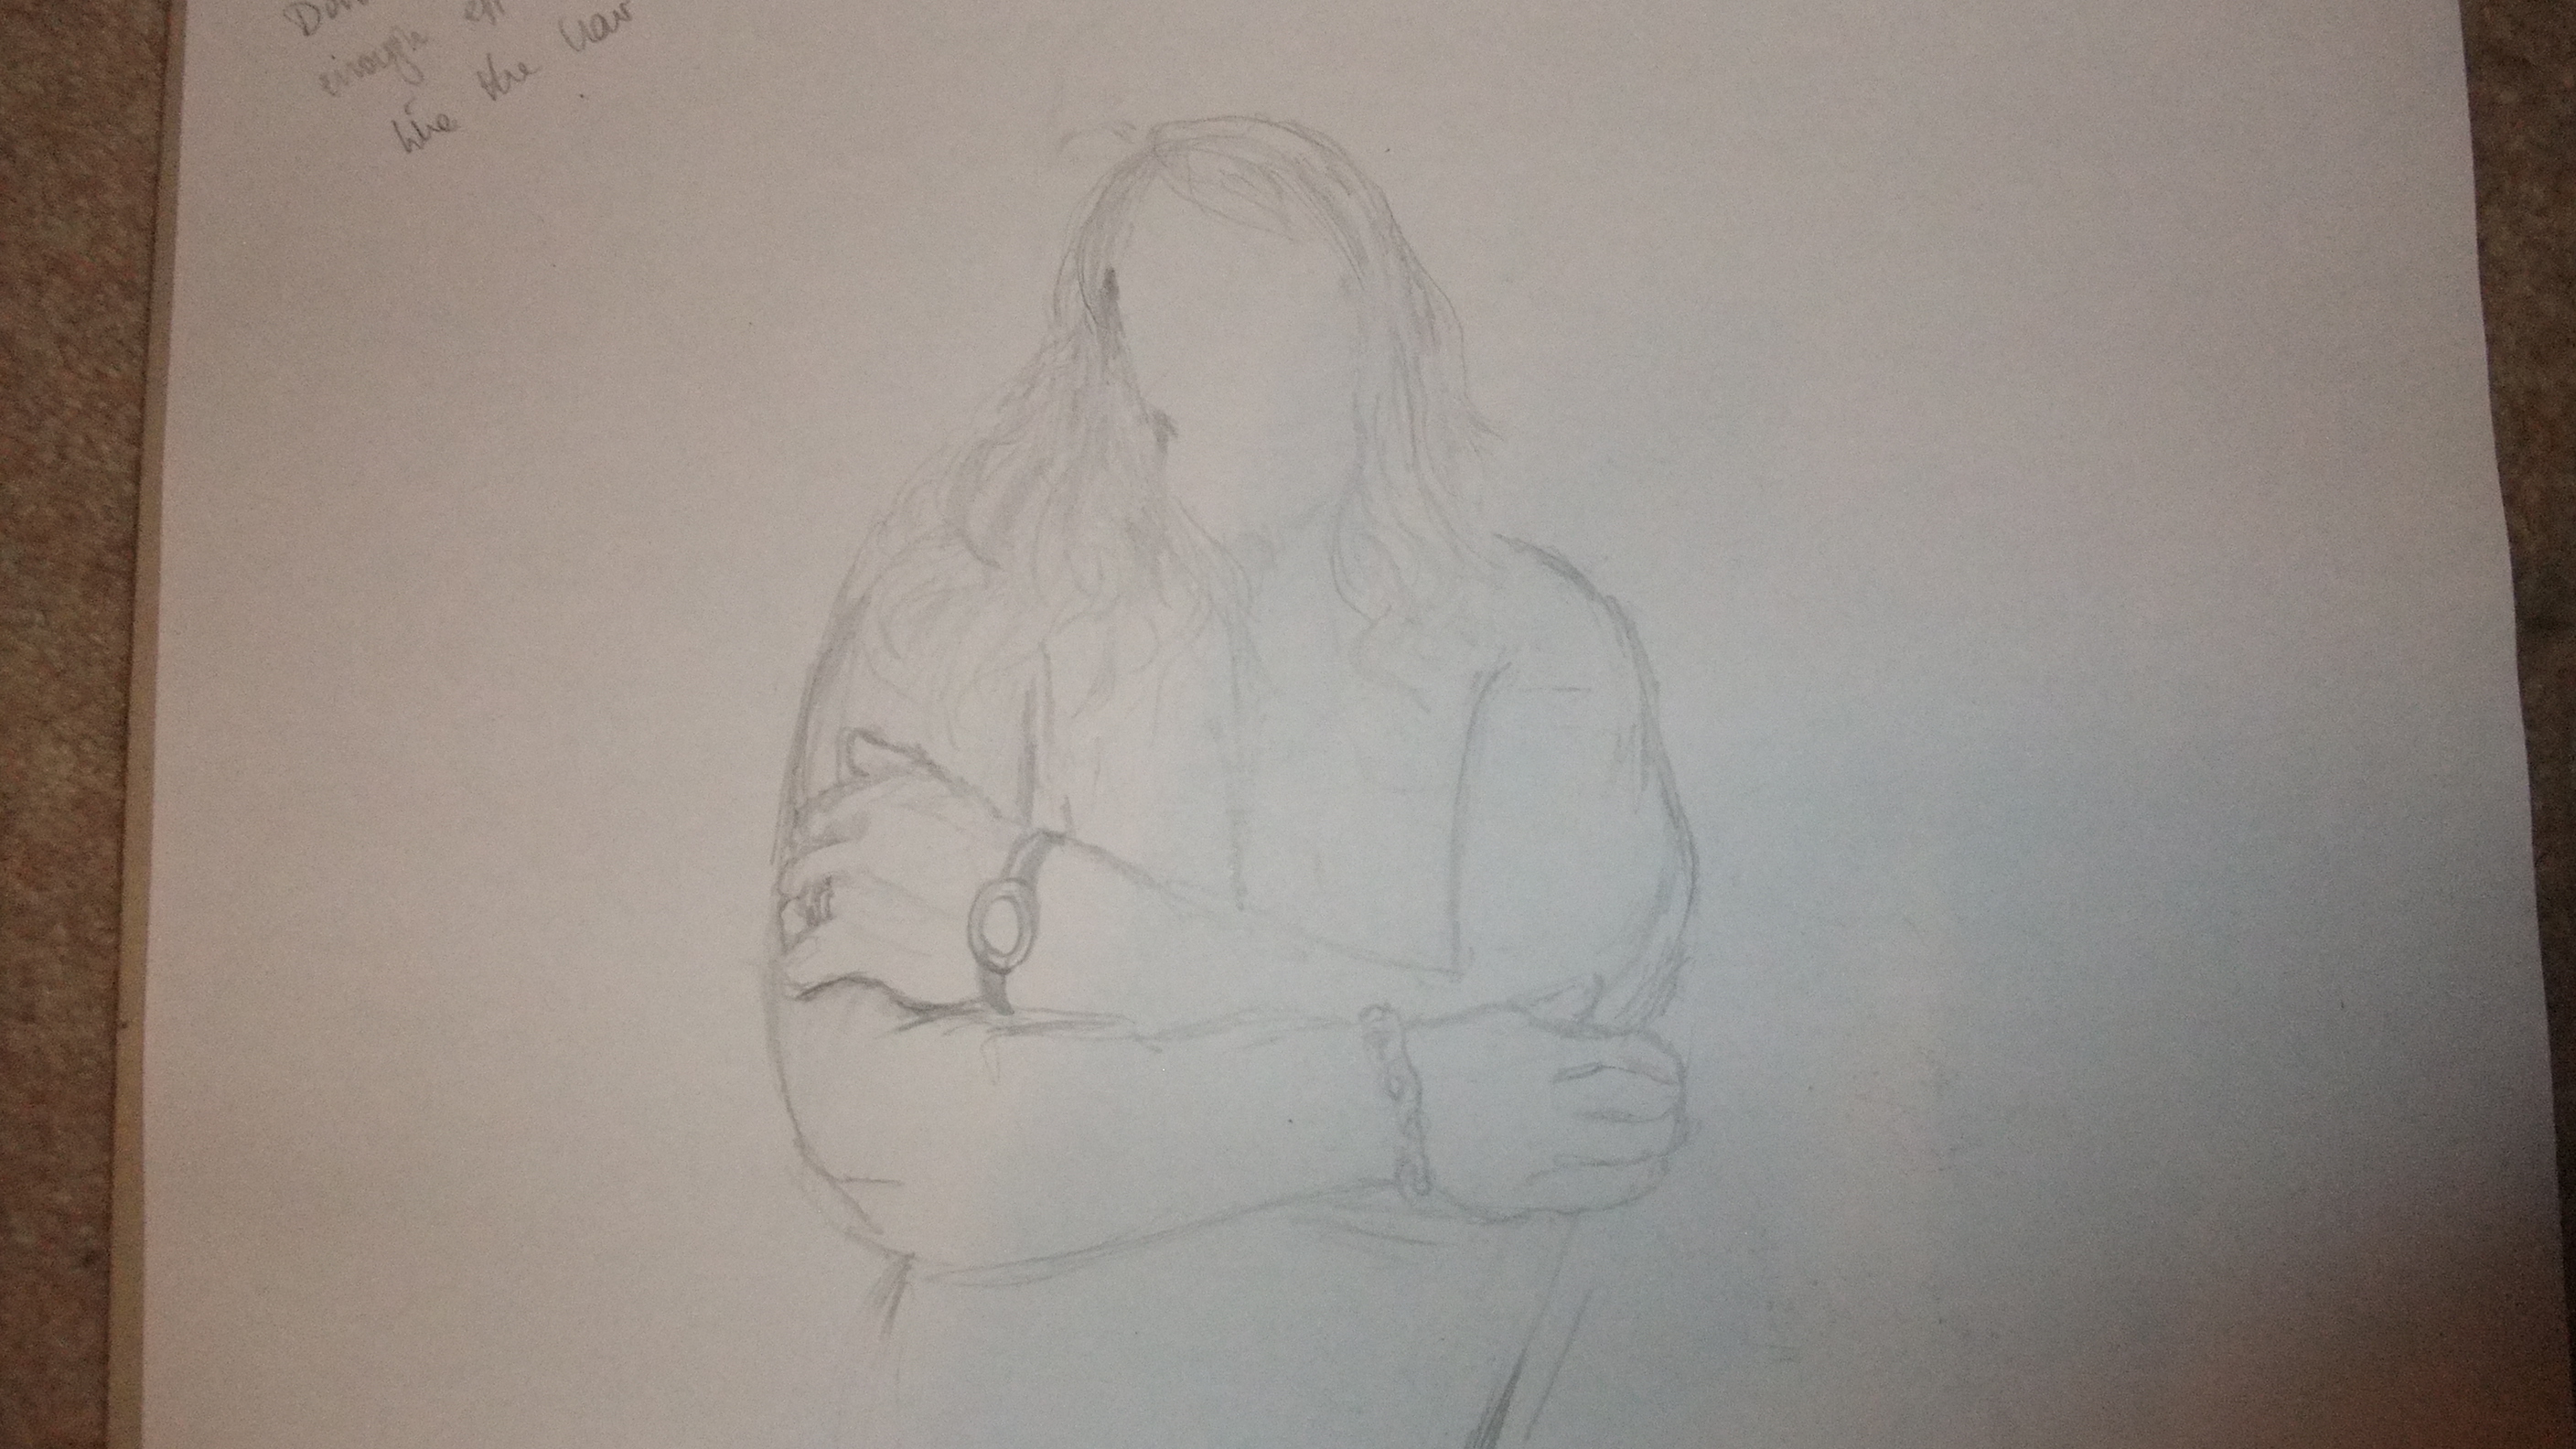
To recover from this barrage of drawings, we were tasked with a 20 minute sketch and then a 15 minute sketch, in any style we liked. The first is using a soft pencil which I enjoyed working with in previous classes and had been meaning to try again. It’s really good for showing light as well as dark which is harder to show with a lighter pencil. For the second I used a 6B pencil to try and replicate the effect from the last picture.
Today we included a background object for the first time along with the model and tried out a variety of different media. The wooden frame had to be included in every picture and was a very useful guide for judging when the body was in proportion.
To begin with it was a 30 minute pose using Charcoal. This was very fiddly, I’d never used charcoal before and the fact I was using sticks instead of a pencil ruled out any element of control. It was very difficult to work out quite where the mark would actually be made because of the size of the stick, I couldn’t see exactly where the stick was touching the paper.
The other factor was I was unsure whether or not it was a good idea to use a smudging technique on the picture to improve the tone and form etc. I’d always been taught smudging with ordinary pencils was a cardinal sin, so what about charcoal? I refrained from smudging as best I could in the end to at least test what the result would look like and because smudging seemed like the easy way out!
Task number two was to draw the model using a coloured pencil for 30 minutes, then rip it up in to about 7 pieces and stick it back together in a different order. Then draw a new pose (in 15 minutes) in a new colour. I didn’t quite understand how this would benefit our observational drawing skills, but nonetheless it was enjoyable to do, somehow things looked better when drawn in coloured pencils. (Apologies for the poor photo quality – the colours don’t show up well)
After a short break we had a crack at using Inks. Another medium I’d never used before. We did several pieces over various stretches of time. Inks were less of a challenge than charcoal, but still took a lot of brainwork, I felt myself focusing a lot on the accuracy of the line and the quality of the stroke. It was very tricky to show any tone though. The one on the right was 20 minutes and the two together each were 15 minutes.
Does anyone else out there have these difficulties? Are you fantastic at Inks and can’t understand what the problem is? If so, leave a comment! 😀
We also began learning about TVpaint – a program used in the industry for animating.
I still haven’t gotten to grips with it, we’re at the experimental stage where we’re all finding our feet and it’s a VERY fiddly (slightly temperamental) program.
I don’t have any screenshots to show as I didn’t have time to make any while I was working (only an hour today 😦 ) but keep up with posts and you’ll see something soon!
Here’s a very fast preview of the sort of stuff we were doing!
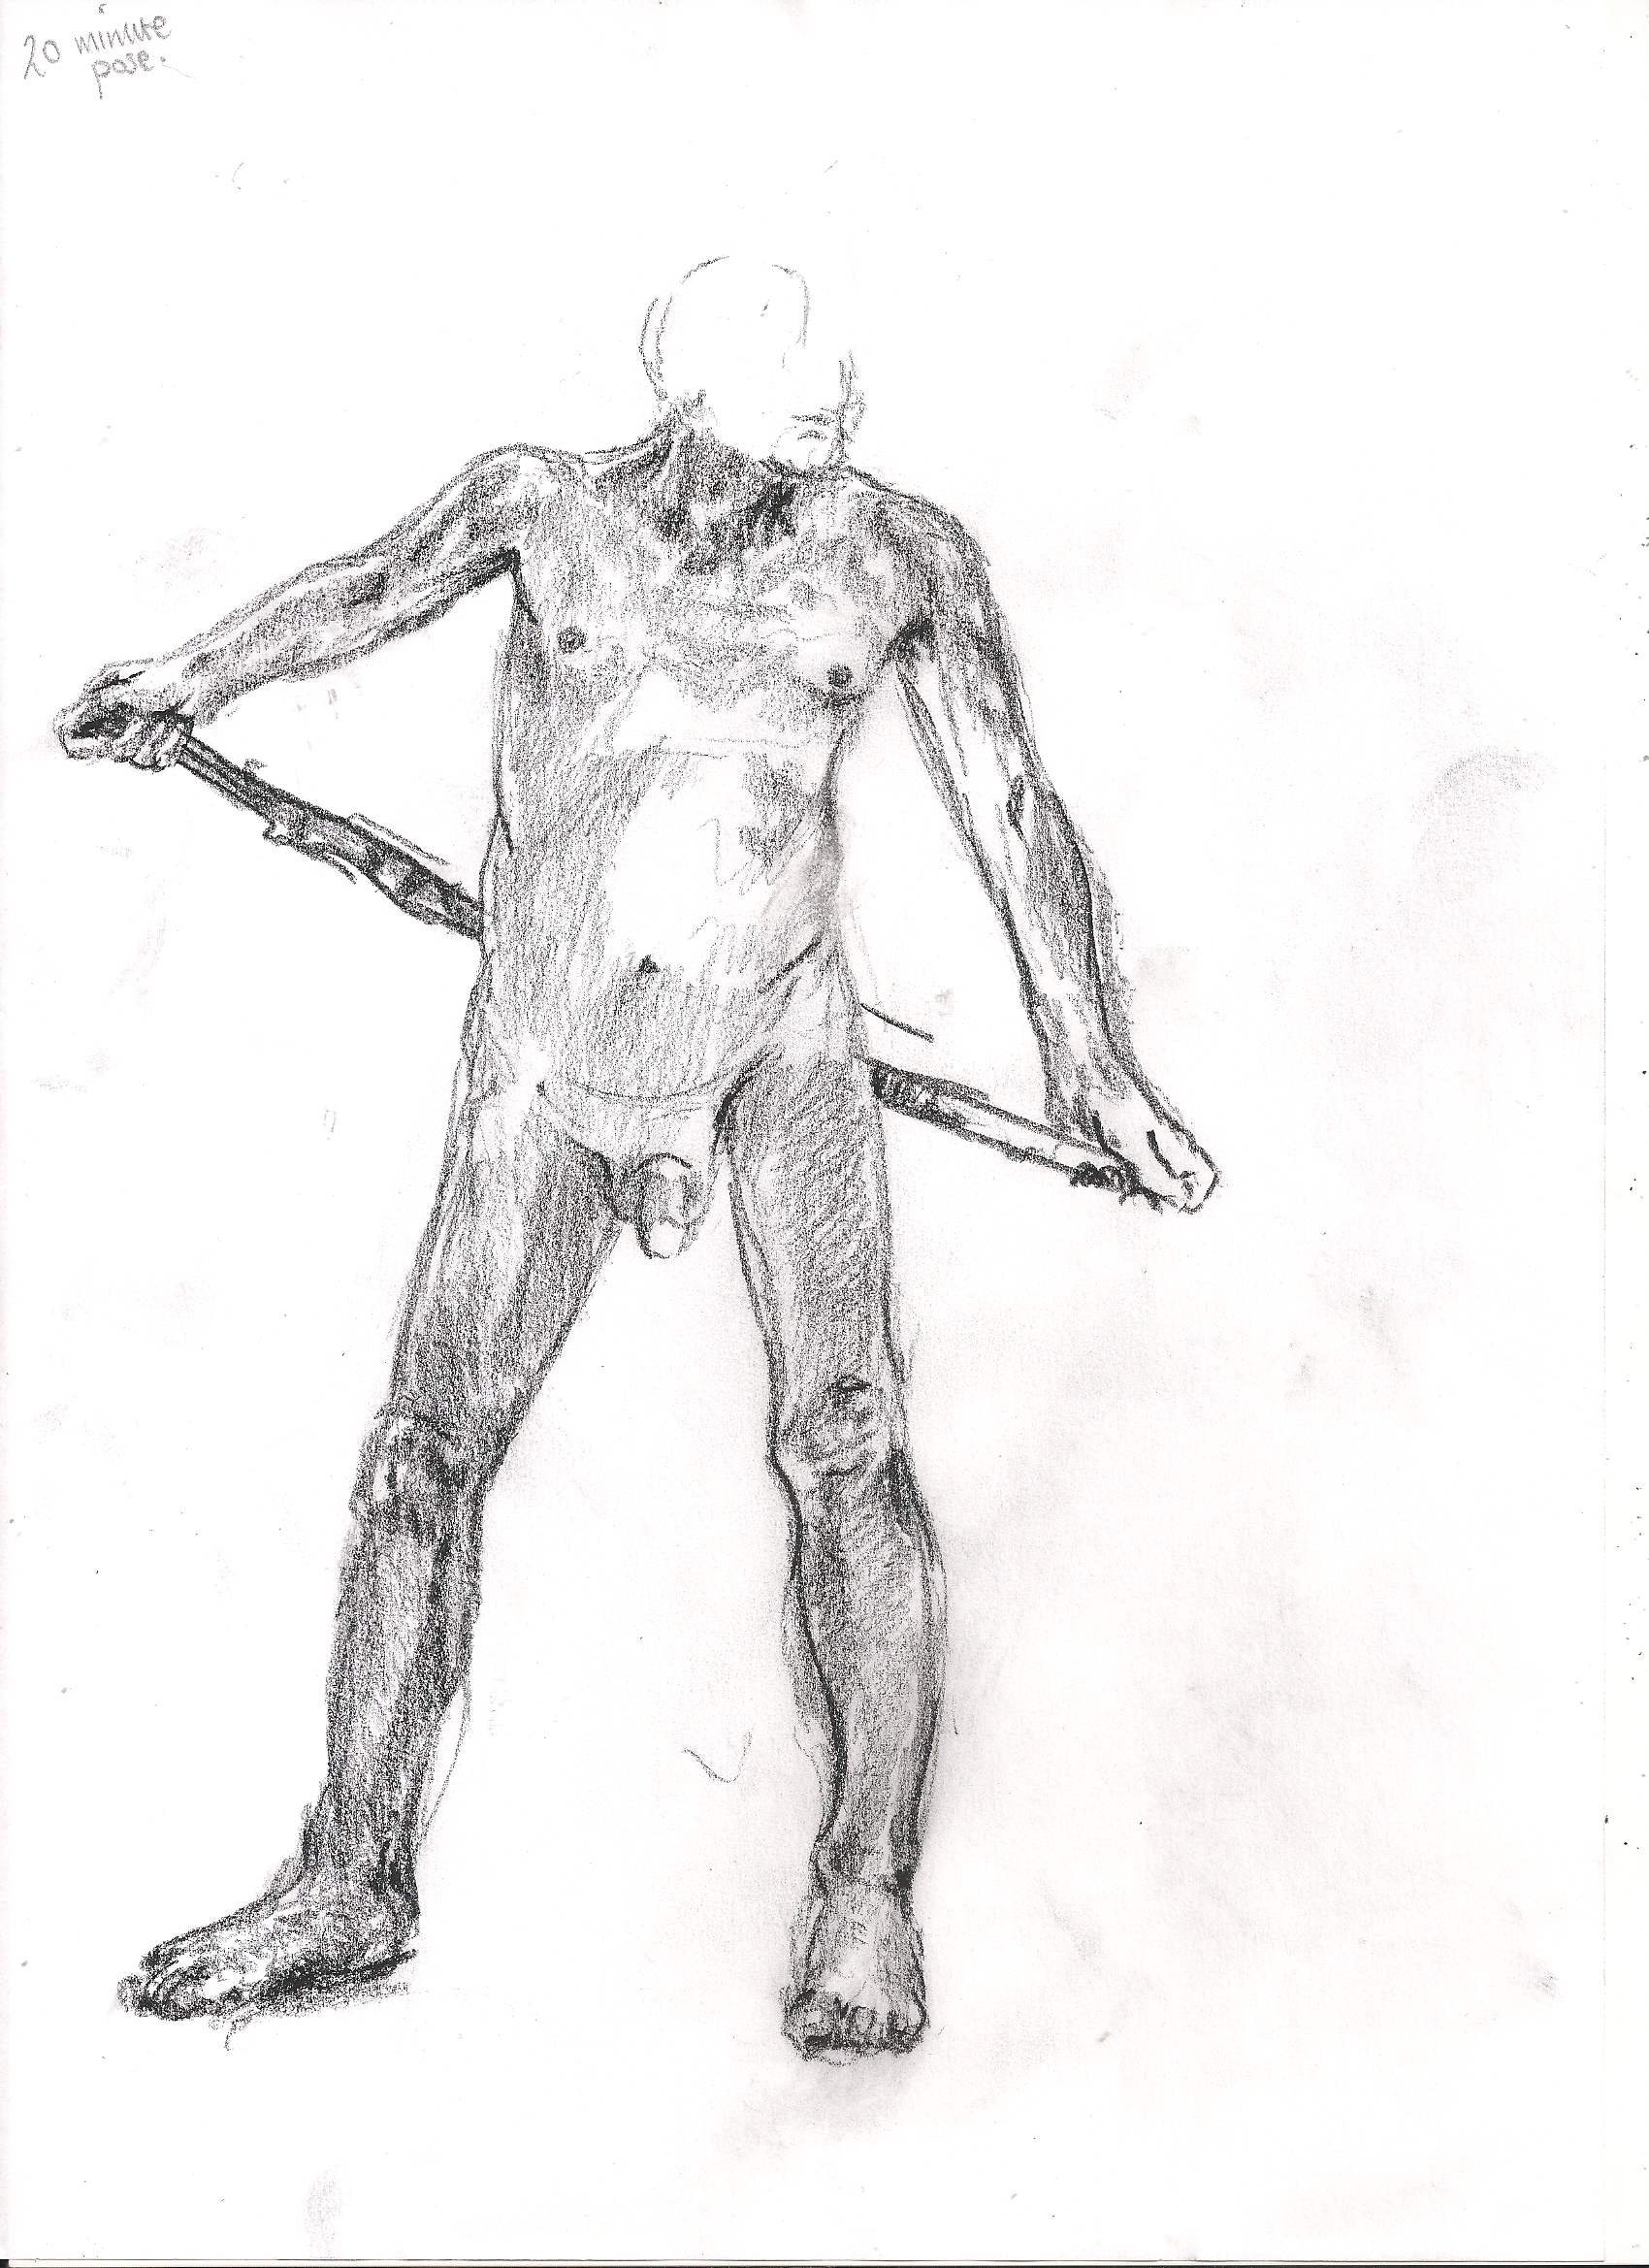
Today we had a different teacher (who usually teaches our Animation Principles lessons) and the Male model who modelled for us in our first lesson.
Our first task was to simply observing the model, every line and detail, how his weight was distributed, and muscle and bone structure. Only after 10 minutes or so were we told to start our 20 minute drawing.
It was one of those moments where you put your pencil to paper and discover that your drawing style is different. It may be because of the late nights I’d had previously (I’d like to emphasise I had been working, not partying!) or the fact it was early in the morning or maybe because I was learning and becoming subconsciously more adept at sketching, but the way I was making marks was quite different to previous lessons. There were much more sporadic scribbles, but over small spaces. The face and upper body were constructed more of shading than lines. A body part was represented by the light and shade rather than its outline. I don’t know why I did this, it was totally subconscious but the outcome was quite nice.
Once again the battle for leaving enough space for feet continues, however my usual neglect of features has been addressed today, as our teacher specified that we were to pay particular attention to hands, feet and faces. It was really enjoyable to be able to draw a face and suddenly the picture comes more alive. (even if I couldn’t finish the bottom half)
Task two was three 10 minute large-scale sketches of hands. This was great to do, I really enjoyed it, but by the third sketch the activity became a test of memory as the models hands were getting tired so the pose changed a little as I was drawing it. Oh well, it’s an extra challenge!
From there we had to do three 5 minute sketches with the model in a different pose, focusing on the lines of action. Having not done A Level art or any thing like that, I didn’t know what these were, (I’ve looked these up, apparently “The line of action is a key ingredient to making your character’s poses look more dynamic*.”) I’m not sure I’ve exactly fulfilled the brief here…
After our usual break, our teacher handed out sheets of A4 paper with a devious expression. Our suspicions as to why he looked smug were soon realised when he informed us to stab a hole in the paper with our pencils, then draw the model with the sheet of paper stuck over our hand so there was no chance of looking at all. I thought the outcome would be hilarious (as it had been when we first did an exercise like this in lesson one) but the result was not what I expected and I felt rather pleased.
Following on, we were then given a fantastic challenge of drawing (and being able to look at our paper) but with our non-dominant hand. Ooh it made your brain work, I found myself drawing more from my elbow than my wrist as I do with my dominant hand. It’s interesting because the outcome is never going to be exactly how you want it because you are physically inhibited by your hand!
To finish we were allowed to draw how we pleased for 25 minutes which I think Is one of the longest times we’ve had! (I shall reserve comments of personal criticism or praise as I seem to have added quite a few in the last few posts, and I don’t want my views to affect how you perceive the artwork. I’d rather not influence your opinions so I’ll keep my personal comments to a minimum from now on)
*quoting Krishna M. Sadasivam, from their article, “Quick Tip: The line of action, make your character poses more dynamic!”
(forewarning – the photos are poor quality – clicking on them will open their full-size in a new window)
As usual we began with a 5 minute warm-up. I’m getting used to these exercises now and can feel myself automatically assessing the figure, form and pose before I start, so oh my god I think I’m learning things…! (well this course is £9000 a year, I should really hope I learn something!)
Once again my sense of layout defied me, my drawings really do need feet and I’m getting increasingly infuriated with myself. I must find a way to fix this issue.
That aside I felt pleased with the curve and general shape of the lines. Comparing this to my work earlier in the term I think my line is definitely more confident, but if I really want to improve I’ll have to extend my drawing time to outside of school and do some observational work as I go – i.e; as I commute, eat lunch etc. I know this would greatly improve everything. Foolish student that I am though it’s difficult to find time. For now I shall simply grow an extra set of limbs so I can draw and cook a meal at the same time. (I wonder how many others have wished that….)
Apologies for digressing slightly. Ahem… An added advantage was this time we had the same model as the previous lesson, so we were already familiar with her physique, preferred poses and appearance. This felt like an opportunity for a “second glance” as it were, recognising what we had previously observed we could now observe and notice the finer details about her which we may have missed last time.
After our warm-up was complete we were told to focus on the marks we were making on the page. To be more aware of their speed and depth. Bearing this in mind we set to work on a longer sketch using chunky, blunt tools – heavy pencils or charcoal stick were appropriate. It was a challenge because with a big blunt pencil comes the need for more control, but the outcome was actually very pleasing. I liked the overall look of the figure and the boldness of the line. The bigger pencil was very useful for adding in more dynamic shading to the form. I would think a second or third attempt and more time would see a really nice outcome, so when I get the chance to do observational work outside the classroom I’ll try to use bigger blunter pencils more.
We then gave the model a break and focused on the different ways to make marks – experimenting with speed, gradient and tone, ferocity and gentleness. We also considered what sort of responses different marks might evoke – that harsher, heavier lines might appear aggressive while lighter sporadic scribbles could appear confused. I found that part of the exercise quite difficult as interpretations like that are entirely subjective, my views may be completely different to another’s but I’m not going to go down the rabbit-hole of discussing individual interpretation and concept in art today.
The next exercise was by far the most enjoyable I’ve done. Drawing a partner’s face (primarily the features used for expression – eyes, mouth and eyebrows) as they contort themselves in to different expressions, one every fifteen seconds. Our teacher had allowed us to exaggerate the expressions, it wasn’t meant to be a portrait in any sense. We were meant to capture the essence of the emotion the expression was emulating.
I’m ashamed to admit it but of course one of the reasons I enjoyed this was because it was within my comfort zone. As a graphic novelist and independent animator outside of university, I’m used to drawing cartoonish, extreme expressions. My partner provided an excellent array of emotional reactions and there’s a lot more freedom to represent these in the comic medium, as you’re allowed an elasticity that isn’t possible in observational work.
Following on from that, we sketched the model taking in to consideration how to represent different textures with different lines. I was wholly disappointed with my efforts here, everything is out of proportion and I don’t think I fulfilled the objective correctly. The hair was interesting to work on though, as I don’t usually focus on it, prioritising the form and pose over facial features and hair.
After a quick 5 minute warm-up exercise following a break which yielded further disappointing results we took on a different approach.
5 minute warm up
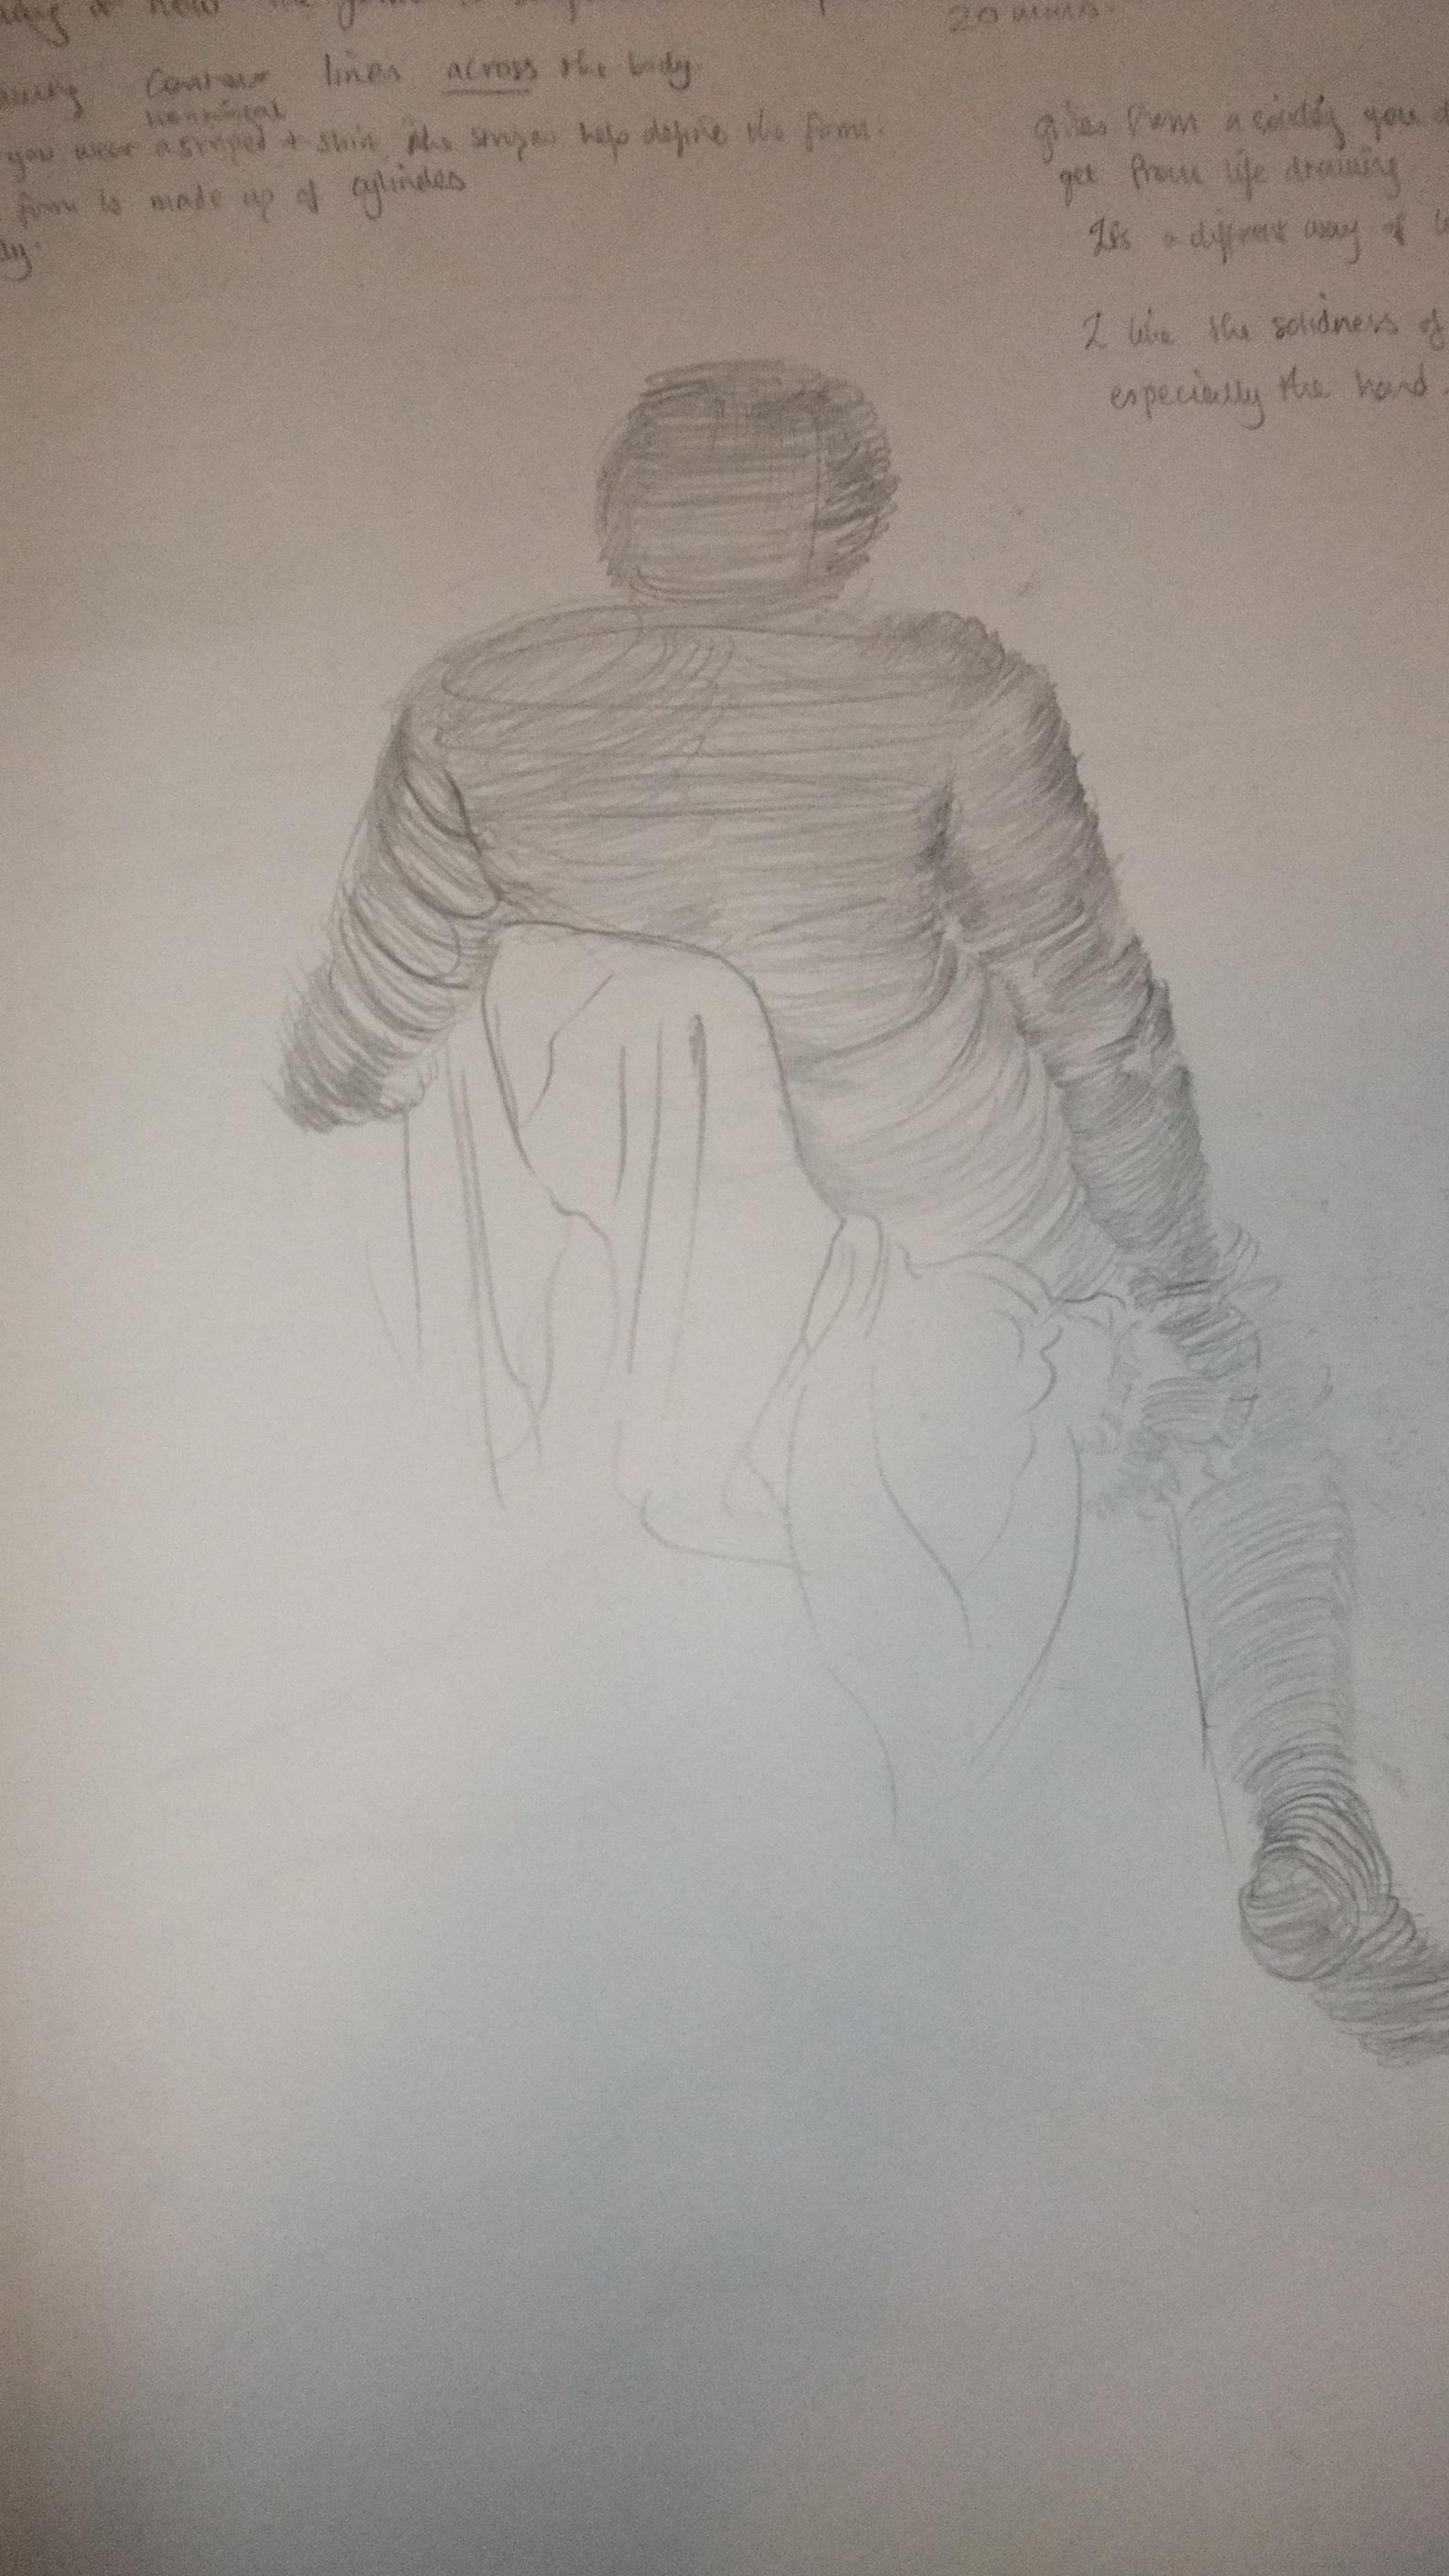
We had to use contour lines across the body, thinking of the body as being made up of cylinders. For example if you wear a horizontally striped shirt, the stripes help define your form. This technique gives the form a solid, shapely quality you can’t get from just outlines. It’s a different way of doing things and I quite liked the outcome, especially on the hand and foot. The rest of the body definitely needed more shading for depth, but as an experimental exercise I can see why contour lines across the body work.
While the model took a break we experimented with mark making again. We were this time told a feeling and had to draw how we think it would be represented on paper. Another completely subjective outcome, looking at other peoples work I could see everyone had a different idea about how “disappointment” or “cold” should look. But this was a good thing. I realised how I could utilise different techniques to represent emotions to much greater effect than before and it showed me a way of how I could visualise emotions in forms I hadn’t properly considered before.
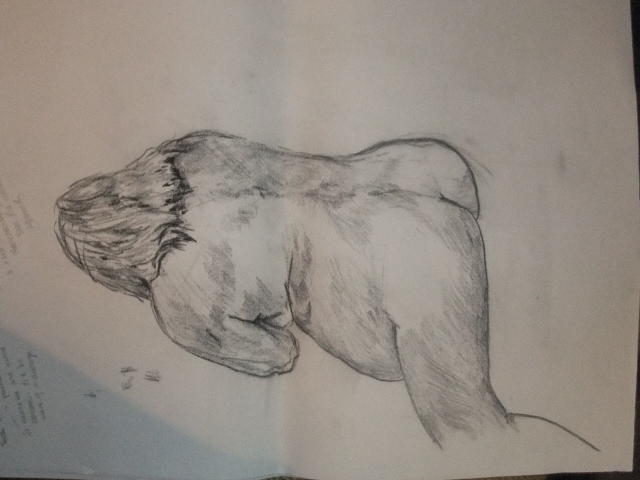
For our final exercise we were allowed to draw the figure in whichever way we liked for 15 minutes, so long as we took on board all that we had learnt. I felt the result was a little mediocre. For me it lacked any proper resonance of what a life drawing should be, there was no life in it, it was still just an observation. The legs are incomplete and I don’t feel happy with the shading. The main redeeming factor is I added a profile of the face, I don’t know quite how but it seems to lift the whole drawing a little. Perhaps a human body isn’t human and recognisable until there’s something as recognisable as a human face attached. I’ll try my best to improve on all these points as I continue on this adventure!